Here is a high-quality blog post tailored for 'My Core Pick', adhering to all your formatting and tonal instructions.
Turn Your Sunny Windowsill into a Superfood Garden for Pennies a Day
Have you looked at the price of organic greens at the grocery store lately?
It’s getting scary.
A tiny plastic clamshell of spinach or fancy sprouts can cost upwards of five dollars. And half the time, they turn into a soggy mess in the fridge before you even get a chance to eat them.
Here at My Core Pick, we believe that high-quality nutrition shouldn’t bankrupt you.
That’s why I’m going to share one of my absolute favorite hacks for better health.
I’m talking about turning that empty space on your windowsill into a nutrient-dense production line.
You don’t need a backyard. You don’t need a "green thumb."
And best of all? It costs pennies a day.
Let’s dig in.
Why Micro-Gardening is a Game Changer

You might be thinking, "I can't sustain myself on a few sprigs of parsley."
But we aren't talking about standard herbs here. We are talking about microgreens and sprouts.
These are the seedlings of vegetables and herbs, harvested just after the first leaves have developed.
The Nutrient Density Factor
The science on this is actually pretty mind-blowing.
Research shows that microgreens can contain up to 40 times more vital nutrients than their mature counterparts.
That means a small handful of broccoli microgreens packs a bigger punch than a whole head of broccoli.
You get massive doses of vitamins C, E, and K, plus beta-carotene and antioxidants.
You aren’t just garnishing your food; you are taking a multivitamin in plant form.
The Economic Math
Let’s break down the "pennies a day" claim.
A bag of organic microgreen seeds might cost you $15 to $20 online.
That sounds steep until you realize that bag contains thousands of seeds.
One tablespoon of seeds can grow an entire tray of greens.
That $20 bag can last you for months of weekly harvests.
Compare that to spending $5 a week at the grocery store for a product that is less fresh and less nutritious.
The savings add up incredibly fast.
It’s Faster Than Fast Food
Gardening usually tests your patience.
Waiting for a tomato to ripen takes months.
Microgreens? They are the instant gratification of the gardening world.
Most varieties are ready to harvest in 7 to 10 days.
You can plant on a Sunday and be eating fresh superfoods by the following weekend.
The "Dirt Cheap" Setup
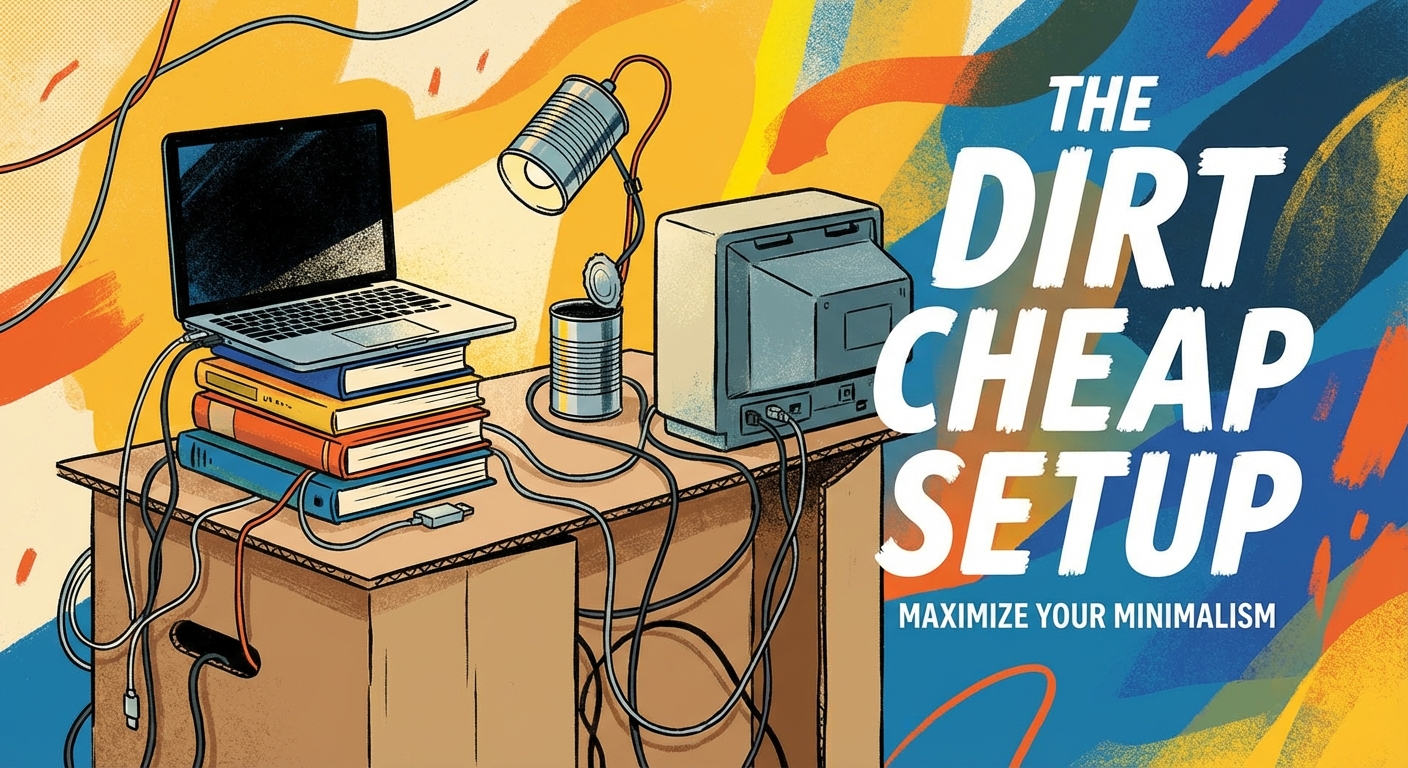
You do not need to buy an expensive hydroponic kit to get started.
In fact, I highly recommend you don’t.
The goal here is to save money, not spend it on gadgets.
Here is the scrappy, effective setup we use at My Core Pick.
The Containers
Look in your recycling bin.
Those plastic containers that strawberries or blueberries come in? They are perfect.
They already have drainage holes in the bottom and a lid you can use for humidity.
Takeout containers work great, too. Just poke a few holes in the bottom for drainage.
Shallow trays are actually better than deep pots because microgreens have very short roots.
The Growing Medium
You have two main choices here, and both are cheap.
The first is organic potting soil. A small bag costs about $5 and will fill dozens of berry punnets.
The second option is a coconut coir brick.
You add water, and it expands into a fluffy, soil-like material.
It’s sterile, mess-free, and very affordable.
The Seeds
This is the only place where I suggest you spend a little money upfront.
Don’t buy the tiny packets at the hardware store meant for growing full-sized plants.
You need to buy seeds specifically labeled for "sprouting" or "microgreens" in bulk.
Buying in bulk (1lb bags or larger) brings the cost per tray down to literal cents.
Look for organic, non-GMO seeds to ensure you aren't eating pesticides.
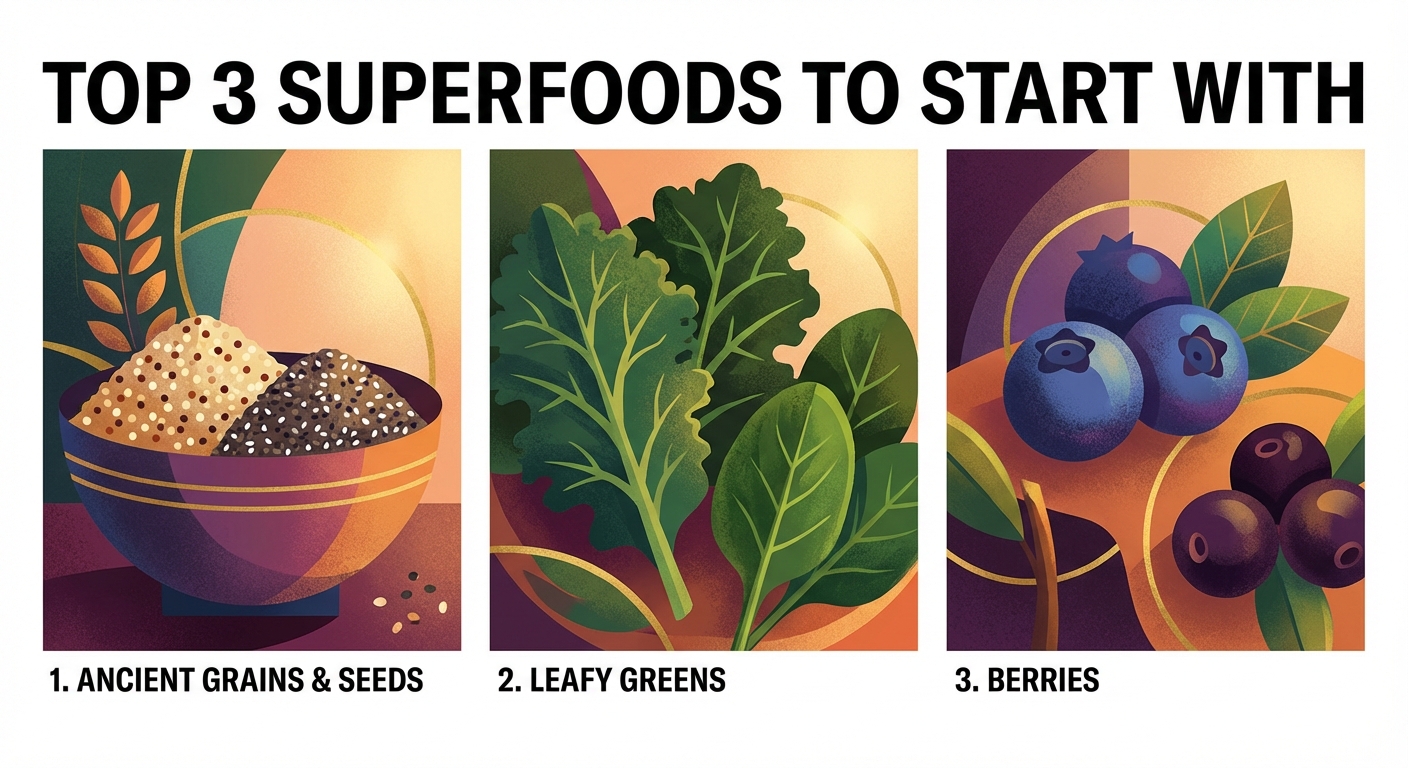
Top 3 Superfoods to Start With
If you browse a seed catalog, you’ll see hundreds of options.
It can be overwhelming.
To keep things simple, I’ve picked the top three easiest and most nutritious crops for beginners.
1. Broccoli
If you only grow one thing, make it broccoli.
Broccoli microgreens are famous for a compound called sulforaphane.
It is a powerful antioxidant that supports cellular health and detoxification.
They taste mild and fresh, not bitter like the mature vegetable can be.
They are incredibly forgiving to grow and are usually ready in just 7 days.
2. Radish
Radish microgreens are the speed demons of the garden.
I have seen them ready to harvest in as little as 5 days in warm weather.
They add a spicy, crunchy kick to salads and tacos.
The seeds are large and easy to handle, making them perfect for your first attempt.
Plus, the stems often come in beautiful shades of pink and purple.
3. Pea Shoots
These are a personal favorite at My Core Pick.
They taste exactly like fresh sweet peas straight from the pod.
They are crunchier and hardier than other microgreens.
You can actually lightly stir-fry these, whereas other microgreens should be eaten raw.
To grow these, you can actually use dried organic peas from the grocery store soup aisle!
That is the ultimate budget hack.
Step-by-Step: How to Grow Your Own
Okay, you have your recycled container, your soil, and your seeds.
Let’s get growing.
Step 1: Prep the Bed
Fill your container with about an inch of moist soil or coco coir.
It doesn’t need to be deep.
Flatten the soil gently with your hand so it’s level.
Do not compress it too much; the roots need to breathe.
Step 2: Sow the Seeds
Sprinkle your seeds generously over the surface of the soil.
You want them close together, but not stacked on top of each other.
Think of it like seasoning a steak with pepper—you want good coverage.
Do not bury the seeds! They sit right on top.
Mist them heavily with a spray bottle.
Step 3: The Blackout Period
This is the secret trick.
Cover your container with a second container (upside down) or a dark towel.
You need to keep them in total darkness for the first 2-3 days.
This forces the seeds to struggle upwards looking for light, which gives you strong, long stems.
Keep the soil moist during this time by misting once a day.
Step 4: Into the Light
After roughly 3 days, you will see pale yellow shoots.
They will look sad and anemic. That is normal!
Remove the cover and place the tray on your sunny windowsill.
Within 24 hours, photosynthesis will kick in.
They will turn a vibrant, beautiful green almost like magic.
Step 5: Bottom Watering
From now on, try not to water from the top.
Top-watering can flatten your delicate greens and encourage mold.
Instead, pour a little water into a saucer and set your container in it.
The soil will wick the water up from the bottom.
Do this daily or whenever the tray feels light.
Troubleshooting Your Mini-Garden
Even though this is easy, things can go wrong.
Here are the most common issues beginners face and how to fix them.
"Is that mold?"
You might see white fuzzy stuff around the roots on day 3.
Panic usually sets in here.
However, 90% of the time, those are just "root hairs."
They are microscopic roots looking for water.
The Test: Spray them with water. If they disappear, they are root hairs (good). If they stay like a spiderweb, it’s mold (bad).
If it’s mold, you likely overwatered. Start over with less water next time.
Leggy, Weak Plants
If your greens are falling over and look stringy, they aren't getting enough light.
Even a sunny window might not be enough in the winter.
If this happens, just harvest them a bit earlier.
They are still edible!
Next time, try a brighter spot or add a cheap LED desk lamp.
The Smell Test
Your microgreen garden should smell like fresh rain and earth.
If it smells sour, swampy, or rotting, toss it.
This usually means the drainage wasn't good enough and the roots rotted.
Poke more holes in your container next time.
Harvesting and Eating
Harvest day is the best day.
When the plants are about 2 to 3 inches tall and have open leaves, they are ready.
Take a pair of clean kitchen scissors.
Grab a bunch of greens in one hand and snip them just above the soil line.
How to Use Them
I recommend eating them immediately for the highest nutrient content.
Sprinkle them on your avocado toast.
Throw a handful into your morning smoothie (you won’t taste the broccoli, I promise).
Use them to top a soup or a stir-fry right before serving.
They add a gourmet look to the simplest meals.
Final Thoughts from My Core Pick
We live in a world where eating healthy often feels like a luxury reserved for the wealthy.
It doesn’t have to be that way.
By taking control of just a tiny portion of your food production, you change your relationship with what you eat.
You save money. You reduce plastic waste.
You flood your body with living enzymes and vitamins.
All it takes is a sunny window, a recycled blueberry container, and a few cents worth of seeds.
Give it a try this weekend.
Your body (and your wallet) will thank you.
Happy growing!