Here is the blog post, written to your specifications.
Stop Throwing Money Out the Window: A Simple Guide to Sealing Air Leaks
I remember the exact moment I realized I had a problem.
I was sitting on my couch in the middle of January, wrapped in a blanket, watching a movie.
Despite the thermostat being set to a comfortable 72 degrees, the furnace was running non-stop.
Then, I felt it.
A distinct, chilly breeze brushed past my ankles.
I looked at the window across the room. It was closed. It was locked.
But it was essentially an open hole in my wall.
If you have ever felt that phantom breeze, or if you simply dread opening your utility bill every month, you are in the right place.
We often obsess over high-efficiency appliances or expensive solar panels.
But the truth is, the most cost-effective home improvement you can make is sealing air leaks.
It’s not glamorous. It’s not flashy.
But it stops you from literally throwing money out the window.
Here is my simple, step-by-step guide to sealing your home tight.
The Invisible Thief: Why Air Sealing Matters
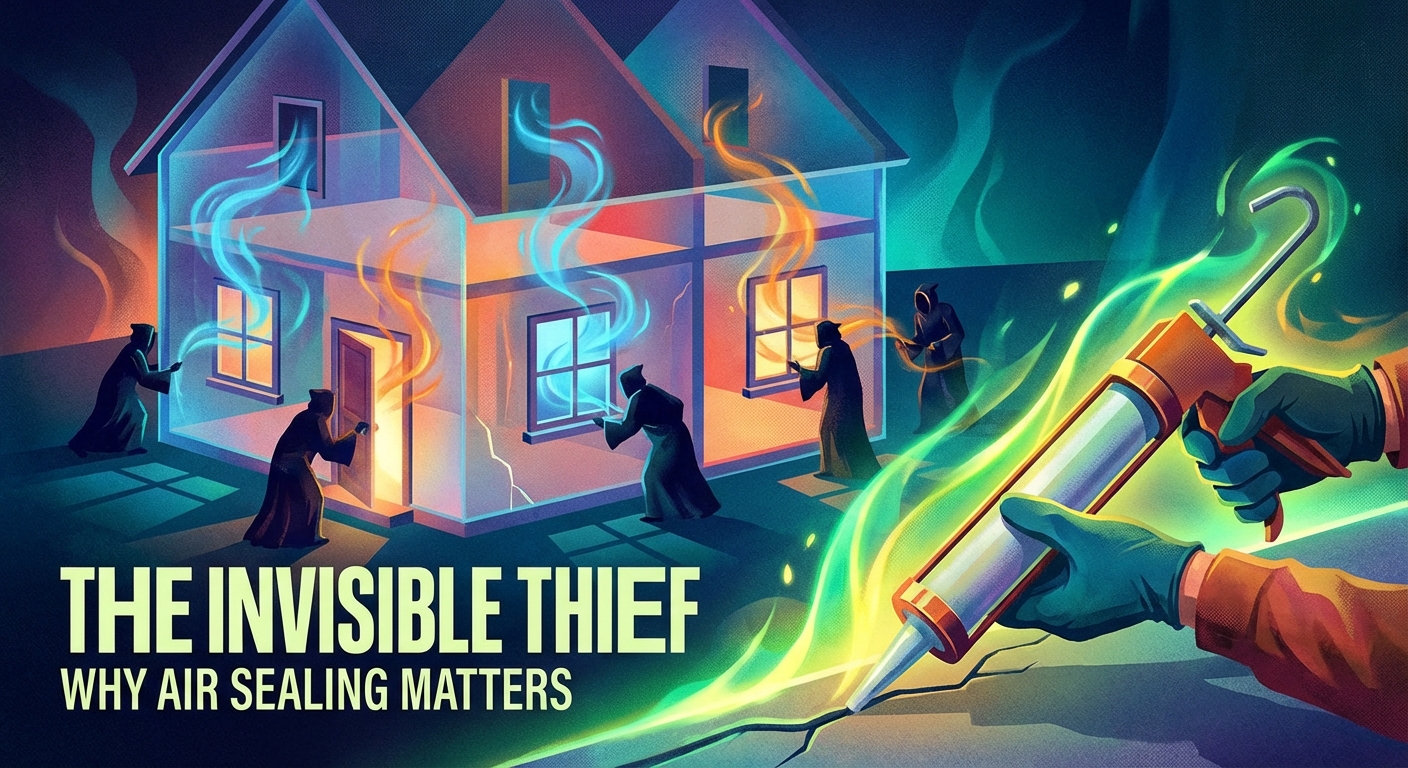
Before we pick up a caulk gun, let’s talk about why this happens.
Houses breathe.
Warm air rises and escapes through the top of your house (the attic).
This creates a vacuum effect that sucks cold air in through the bottom (your basement, windows, and doors).
This is called the "stack effect."
When you have air leaks, your HVAC system has to work overtime to heat air that is just going to leave the building in a few minutes.
According to the EPA, homeowners can save an average of 15% on heating and cooling costs just by air sealing and insulating.
For some older homes, that number is much higher.
But it’s not just about the money.
It’s about comfort.
Sealing leaks reduces drafts, keeps the humidity levels balanced, and even keeps bugs out.
It also extends the life of your furnace and air conditioner because they don’t have to cycle on and off as frequently.
The Detective Work: How to Find the Leaks

You can’t fix what you can’t find.
Some leaks are obvious. You can see daylight coming through the bottom of a door.
But others are sneaky.
Here are my three favorite methods for hunting down those invisible drafts.
The Visual Check
Start by simply looking at your frames.
Check the exterior caulk around windows and doors. Is it cracked? Is it peeling away?
Look at the old glazing on window panes.
If you can rattle a window inside its frame, you have an air leak.
The Dollar Bill Test
This is a classic for a reason.
Take a crisp dollar bill.
Shut a window or door on the bill.
If you can pull the dollar bill out without any resistance, your seal is failing.
If the bill tears or drags significantly, you’ve got a tight seal.
The Incense Test
Pick a windy day for this one.
Close all windows and doors. Turn off all combustion appliances (like gas stoves) and exhaust fans.
Light a stick of incense or a candle.
Walk slowly around the perimeter of your rooms. Pass the smoke near electrical outlets, window frames, and baseboards.
If the smoke wavers or gets sucked in a horizontal direction, you found a leak.
Mark these spots with a piece of blue painter's tape so you remember where to work later.
My Core Pick Toolkit: What You Actually Need

Walk into a hardware store, and the aisle for weatherization can be overwhelming.
There are hundreds of products.
I’ve tried most of them, and I’ve narrowed it down to the essentials.
Here is what belongs in your air-sealing toolkit.
Caulk
You need a high-quality caulk for gaps that don’t move (like where the window frame meets the wall).
I recommend 100% silicone for exteriors because it is waterproof and won't shrink.
For interiors, a paintable acrylic latex caulk with silicone is easier to clean up and looks better.
Weatherstripping
This is for the parts that do move (like the window sash or the door itself).
V-Channel: This is a plastic or metal strip folded into a 'V' shape. It’s durable and invisible when installed.
Foam Tape: This is the easiest to use. It’s cheap and has a sticky back. It doesn’t last forever, but it’s great for a quick fix.
Felt: Avoid this. It destroys easily and isn't very effective.
Expanding Foam
This is for large gaps (bigger than a quarter-inch).
Important: If you are sealing around windows or doors, make sure you buy "Low Expansion" foam.
Standard foam expands with too much force and can actually warp your window frames, making them impossible to open.
Door Sweeps
These attach to the bottom of your door to bridge the gap between the door and the threshold.
Get the heavy-duty rubber or brush kinds that screw into the door. The stick-on vinyl ones rarely last through a winter.
Action Plan: Sealing Windows and Doors
Okay, let’s get to work.
Windows and doors are the usual suspects.
Here is how I tackle them.
Fixing the Windows
First, clean the surface. Adhesives won't stick to dust or old paint chips.
If you have old, cracking caulk, scrape it out before applying new stuff.
Apply a continuous bead of caulk where the window trim meets the wall.
Next, open the window.
Apply your weatherstripping (V-channel or foam tape) to the top and bottom of the sash.
You want the material to compress slightly when the window is locked.
Don't forget the meeting rail—that’s the spot where the top sash and bottom sash meet in the middle. This is a prime spot for leaks.
Finally, lock your windows.
It sounds silly, but locking the window pulls the sashes together tightly, engaging the weatherstripping.
Fixing the Doors
The "Dollar Bill Test" usually fails at the bottom of the door.
Install a new door sweep.
I prefer the kind that screws into the bottom of the door interior.
Adjust it so the rubber seal presses firmly against the threshold, but not so hard that the door is difficult to close.
Next, check the sides.
Apply foam weatherstripping along the door jamb (the frame where the door closes).
Test it. The door should close with a firm "thud" and require just a little extra push to latch.
That tension means you have a good seal.
The Sneaky Spots You Probably Missed
You fixed the windows and doors. You’re done, right?
Not quite.
There are holes in your house you probably don’t even think about.
I was shocked when I found out how much air was moving through these specific areas.
Electrical Outlets and Switches
Put your hand over an outlet on an exterior wall on a cold day.
It feels like a mini refrigerator.
Electricians cut holes in the drywall to install these boxes, but they rarely seal around them.
The fix is incredibly cheap.
Buy "foam gaskets" specifically made for outlets.
Unscrew the cover plate, pop the foam gasket over the outlet, and screw the plate back on.
Insert child-safety plugs into the unused sockets to stop air from coming through the holes.
Baseboards
In many homes, there is a gap between the bottom of the drywall and the floor.
The baseboard covers it, but it doesn't seal it.
Air from the basement or crawlspace loves to travel up behind the wall and out under the baseboard.
Use a clear, paintable caulk along the top and bottom edges of your baseboards.
The Attic Hatch
This is a massive energy waster.
Remember, heat rises.
If your attic hatch isn't sealed, your house is basically acting like a chimney.
Glue thick weatherstripping around the perimeter of the hatch opening.
Consider buying or building an "attic tent"—an insulated cover that sits over the hatch from the attic side.
Pipe and Vent Penetrations
Go outside and look at where your dryer vent, outdoor faucet, or gas line enters the house.
There is usually a gap around the pipe.
This is a job for the expanding foam.
Fill those gaps to stop air and keep mice from finding a warm winter home.
Maintenance: It’s Not a "One and Done"
Here is the reality of home ownership.
Things settle. Caulk dries out. Weatherstripping gets crushed.
You need to inspect your work.
I like to do a quick walk-around every autumn before the first frost.
Check the door sweeps. Are they torn?
Check the window locks. Are they engaging properly?
It takes ten minutes to check, but it saves you months of high bills.
Final Thoughts
Sealing air leaks isn't the most exciting weekend project.
You won’t get the immediate visual satisfaction of painting a room or installing new cabinets.
But the satisfaction comes later.
It comes when you sit on your couch near the window and don't need a heavy blanket.
It comes when the furnace kicks off and stays off for a while.
And most importantly, it comes when you see that extra money staying in your bank account rather than flying out the window.
Start with one room. Start this weekend.
Your wallet will thank you.