Be Your Pet's Hero: How to Assemble the Ultimate DIY First Aid Kit
We all want to believe that our furry friends live inside a bubble of safety.
We picture them napping on the rug or chasing balls in a perfectly manicured, hazard-free park.
But here at My Core Pick, we know that reality is a little messier.
Dogs step on glass. Cats get into plants they shouldn't. Ticks happen.
I remember the first time my Golden Retriever, heavy with curiosity, decided to investigate a patch of thorny brambles.
Panic set in. I didn't have a plan.
I scrambled for human band-aids that wouldn't stick to fur and an old tube of antibiotic ointment I wasn't sure was safe for dogs.
That moment of helplessness was a wake-up call.
I realized that being a responsible pet owner isn't just about the best food or the comfiest beds.
It is about being prepared for the "uh-oh" moments.
While you can buy pre-made kits, they often lack quality or specific items your unique pet needs.
Today, I’m going to walk you through building the ultimate, customized DIY First Aid Kit.
You are about to become your pet’s hero.
Why DIY Beats Store-Bought

You might be asking, "Why shouldn't I just click 'buy' on a pre-made kit online?"
Honest answer? You certainly can.
But in my experience, those kits are often filled with cheap filler items.
You end up with fifty tiny band-aids that won't work on a Labrador, and zero tick removers.
Building your own kit allows for quality control.
You choose the heavy-duty scissors.
You pick the flashlight that actually works when you need it.
Plus, you can tailor it to your specific pet.
A Great Dane needs different supplies than a Chihuahua.
A hiking dog has different risks than an indoor cat.
By assembling it yourself, you also become familiar with every single item in the bag.
When an emergency strikes, you won't be fumbling through a stranger's organization system.
You will know exactly where everything is because you put it there.
Step 1: The Vessel Matters

Before we buy bandages, we need a home for them.
Don't just throw everything into a plastic grocery bag.
You need something durable, water-resistant, and bright.
I highly recommend a soft-sided tackle box or a large toiletry hanging bag.
Why soft-sided?
It is easier to squish into a packed car for road trips.
Why hanging?
If you are treating a wound on a hiking trail or in a bathroom, being able to hang the kit on a branch or hook keeps it off the dirty ground.
Look for a bag with multiple see-through compartments.
When adrenaline is pumping, you don't want to be unzipping opaque pockets guessing what’s inside.
Color matters, too.
Go for bright red or orange.
If the lights go out or you are digging through a dark trunk, you need to spot that kit instantly.
Label it clearly with a permanent marker: PET FIRST AID.
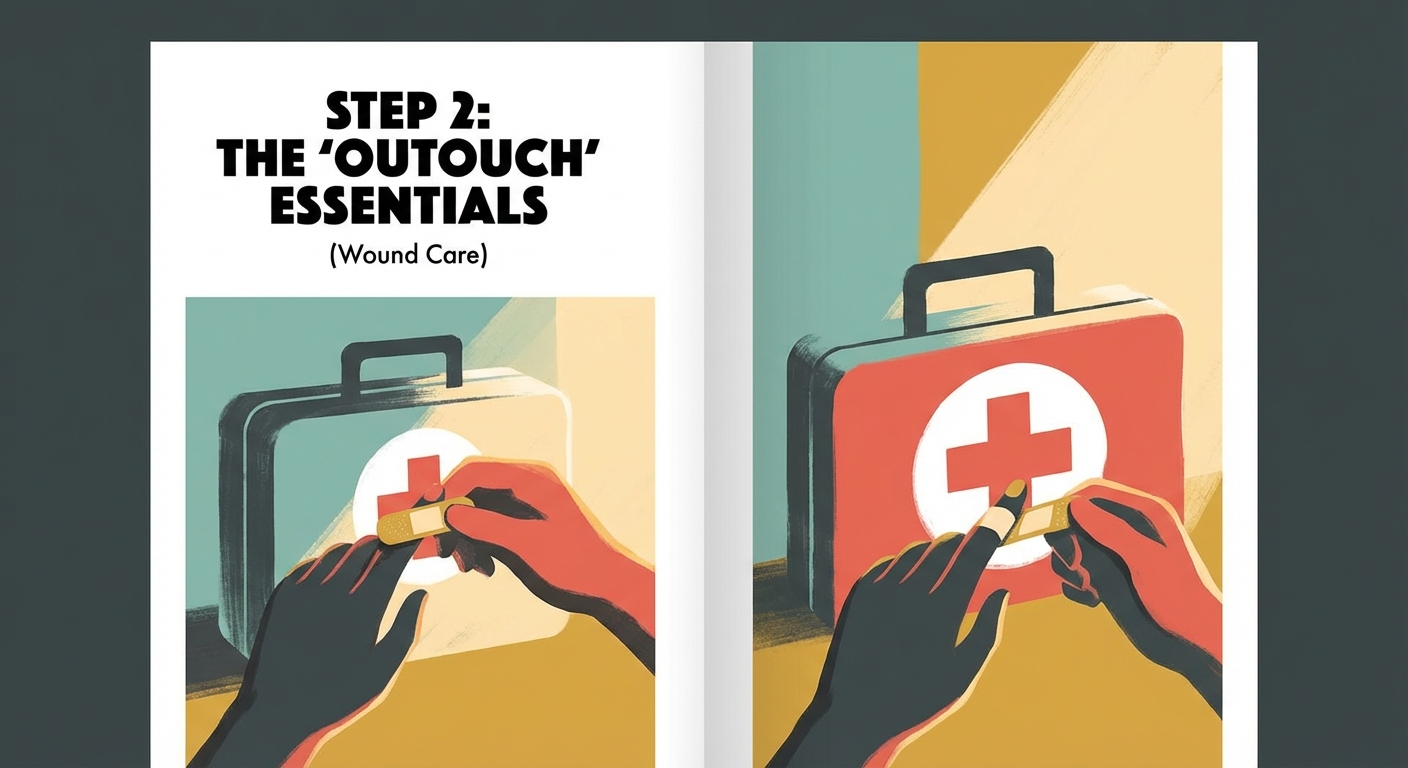
Step 2: The "Ouch" Essentials (Wound Care)
This is the meat and potatoes of your kit.
Cuts, scrapes, and punctures are the most common minor injuries we face.
Cleaning the Area
First, you need to see what you are dealing with.
Pack a small bottle of saline solution.
It is perfect for flushing out debris from eyes or washing dirt out of a paw cut.
Avoid hydrogen peroxide for cleaning wounds.
We used to think it was good, but it can actually damage healthy tissue and delay healing.
Stick to mild dish soap (like Dawn) or chlorhexidine wipes for disinfecting around a wound.
Dressing the Wound
Human bandages are useless on fur.
You need non-stick sterile pads (Telfa pads) to place directly over the wound.
These won't rip the scab off when you change the dressing.
To hold that pad in place, you need roll gauze.
But the real MVP of the pet world is Vet Wrap (also known as cohesive bandage).
This is that crinkly, colorful tape that sticks to itself but not to fur.
It is absolute magic.
Pack at least two rolls.
Make sure you don't wrap it too tight, but trust me, it stays on better than anything else.
The Tools
You need a good pair of blunt-nosed scissors.
You will need these to cut the gauze, cut tape, or trim hair away from a wound.
Why blunt-nosed?
If your pet is jerking around in pain, you don't want to accidentally stab them with sharp points.
Add a pair of high-quality tweezers or a dedicated tick removal tool.
Trying to pull a tick out with your fingers is a recipe for disaster.
Step 3: Diagnostics and Vital Signs
If your pet is acting "off," you need data.
Your vet will love you if you can call them with actual numbers.
The Thermometer
Yes, you need a digital thermometer.
And yes, for pets, the most accurate reading is rectal.
I know, it’s not the most glamorous part of pet ownership.
But knowing if your dog has a fever of 104°F versus a normal temp can be life-saving.
Buy a "rapid read" thermometer to make the process as quick as possible.
Pack a small tube of water-based lubricant to go with it.
Do not use the family thermometer for this.
Please label this thermometer clearly!
A Flashlight
Injuries don't always happen at high noon.
You might need to examine a paw at night, or look deep into an ear canal.
A small, high-lumen LED penlight is perfect.
It helps you see splinters, thorns, or changes in pupil dilation.
Step 4: Safety and Restraint Items
This is the section most people forget.
We hate to think about it, but a pet in pain is unpredictable.
Even the sweetest, most loving dog can bite when they are hurt and scared.
Muzzles
Include a basket muzzle or a soft nylon muzzle that fits your dog.
If you have to lift a dog with a broken leg into the car, a muzzle keeps everyone safe.
It allows you to help them without fear of a defensive bite.
For cats, a muzzle isn't usually an option.
Instead, pack a thick, heavy towel.
The "Burrito" Towel
A large towel is the Swiss Army Knife of first aid.
You can use it to restrain a frantic cat (the "kitty burrito").
You can use it as a stretcher for a small dog.
You can use it to apply pressure to a large bleeding wound.
Or, if your pet is in shock, it provides crucial warmth.
Include a foil thermal blanket (space blanket) as well.
They are tiny, lightweight, and essential for preventing hypothermia after an accident.
Step 5: Medications and Ointments
Disclaimer: I am an editor, not a veterinarian. Always check with your vet before administering any medication.
However, there are some standard over-the-counter items most vets recommend carrying.
Diphenhydramine (Benadryl)
This is commonly used for allergic reactions to bug bites or stings.
Ask your vet for the correct dosage for your specific pet’s weight.
Write that dosage down on a card and tape it to the bottle.
Trying to do math in a panic is difficult.
Styptic Powder
If you’ve ever trimmed a nail too short, you know the blood doesn't stop easily.
Styptic powder (or a styptic pencil) stops minor bleeding instantly.
It stings for a second, but it works wonders.
Cornstarch can work in a pinch, but styptic powder is better for a kit.
Prescription Backups
Does your pet take daily medication?
Keep two or three days' worth of their chronic meds in the kit.
If you get evacuated due to a natural disaster or stuck somewhere, you don't want them missing doses.
Rotate these out regularly so they don't expire.
Step 6: Paperwork and The Human Element
The final piece of the kit isn't medical; it's informational.
In a Ziploc bag, keep a copy of your pet’s medical records.
Proof of rabies vaccination is essential if your dog bites someone while injured.
Include a card with:
* Your regular vet’s phone number.
* The number for the nearest 24-hour emergency clinic.
* The ASPCA Animal Poison Control Center number (888-426-4435).
Why write them down if they are in your phone?
Batteries die.
Cell service fails.
Paper works.
Also, consider adding a small treat bag.
If you are trying to bandage a paw, high-value treats can be a great distraction.
It helps associate the kit with something positive, rather than just pain.
Final Thoughts: Don't Just Build It, Know It
Assembling this kit is a fantastic first step.
But simply owning the tools doesn't make you a carpenter.
I encourage you to take a Pet CPR and First Aid course.
Many local organizations and the Red Cross offer them.
Learn how to find your pet's pulse.
Learn how to perform the Heimlich maneuver on a dog.
Practice bandaging a paw when your pet is calm and happy (and reward them heavily!).
Once you build your kit, set a reminder in your phone for every six months.
Check the expiration dates on the meds.
Replace the batteries in the flashlight.
Restock the treats.
We hope you never have to unzip this bag.
We hope it gathers dust in the back of your closet.
But if that day comes—if the "uh-oh" happens—you won't panic.
You will be ready.
You will be calm.
And you will be the hero your pet thinks you are.